
Take a T-shirt.

FYI: I should add when sewing with T-shirt/knit fabric, you want to use a stretch stitch, a zig zag stitch, a double needle, or a serger. You will see that most of my seams are sewn with a straight stitch as sort of a basting stitch before I run it through my serger. This is because I have already serged a pin {BIG expensive NO NO} in the short time I have owned my serger. So the straight stitch is my precautionary measure to make sure I don't have to fork out big bucks for new blades again. Cut pieces similar to how you cut them with the Easy Baby Skirt.


When you cut your fabric you also want to make sure that you cut it with the grain. I cut it against the grain purely for design reasons {I wanted to switch up the stripes} which shortchanged the stretch of the bodice. I don't know what I was thinking. It made this 3-6 month dress a newborn dress because it just won't stretch enough. So...don't make my mistake and cut with the grain! :) Don't know which way that should be? Stretch your fabric and you'll know. You want the direction that gives you the most stretch.

For this newborn/ 0-3 month size dress:
You need four bodice pieces about 4 inches by 7 inches {but you can tailor this to your liking} and 2 strap pieces 2 1/2 inches by about 8 inches.

You also need a skirt piece. I used the width of the T-shirt and about 16 inches of length which I folded in half. The idea was to make it a slight bubble skirt with no hem {nice :)}.

Serge/zig zag your strap pieces on the fold and turn right side out.

Then measure how far apart you want the straps on the dress.
Pin into two bodice pieces that are sandwiching the straps, right sides facing.

Sew/serge.
Repeat for the other bodice pieces but have them closer together and criss-crossed. Turn right side out. You should have a Roman numeral ten/ X looking thing.


Take your skirt piece. I serged the two edges together. Because I fold the skirt piece in on itself there is no wrong or right side. If you didn't do that, you need to turn it WRONG side out.
Then insert your dress top piece.
Now you have the top of your dress.
Take your skirt piece. I serged the two edges together. Because I fold the skirt piece in on itself there is no wrong or right side. If you didn't do that, you need to turn it WRONG side out.
Then insert your dress top piece.
You can gather the skirt and and then pin or pleat it with pins like I did here.


Turn it all right sides out.

Voila!
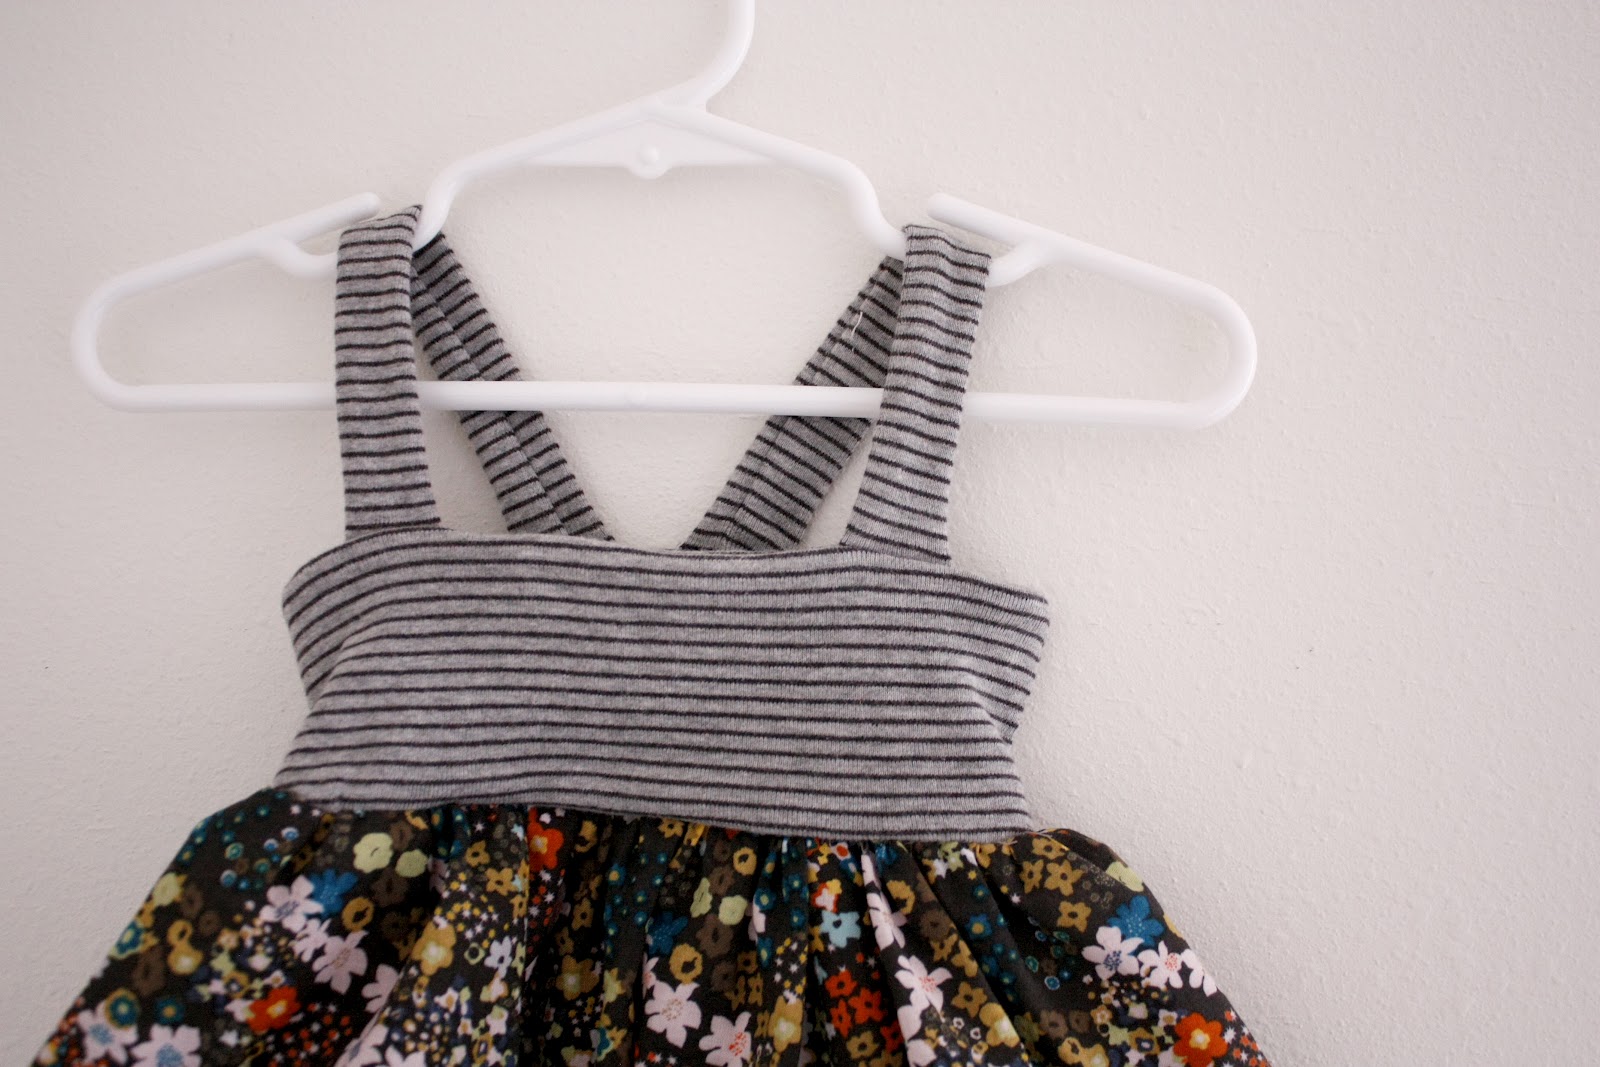
This is a suspender dress so it meant to be worn over a shirt or onsie.

If you want it to be a stand alone dress, then I suggest you add a rise to the front of the bodice so you don't have a baby cleavage problem.

I also made this 3-6 month dress with some knit scraps for the top and one fat quarter for the skirt piece. I made sure the bodice was cut with the grain so it's nice and stretchy!

Simple. Inexpensive. Nothing you would see in the stores. I love it.
(From http://deliacreates.blogspot.com. Thank you very much for this post.)
No comments:
Post a Comment