how to put a zipper in a pillow
Pillow Tutorial: Exposed Zipper

I started making exposed back zippers a last summer to add a little drama + flair to boring old pillows. I’m not sure if it worked or not, but I love the way it looks.

Don’t be afraid of the zippers, they are easy…I promise.

This is part two in a three part series on how to make pillows. Part one is here, envelope back pillow + part three will be coming soon.

Materials Needed:
Pillow form, (not pictured) for this tutorial I used a 12 x 12 inch form
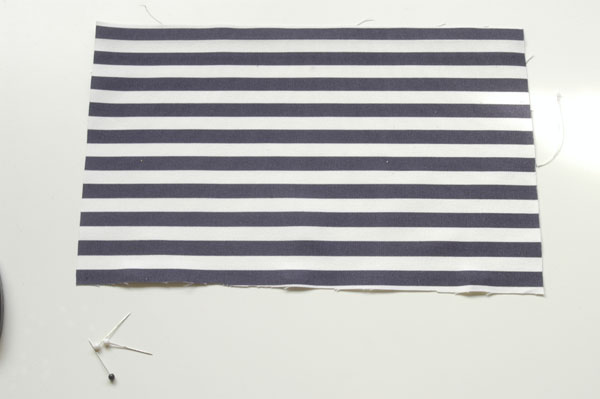
One piece of front fabric, cut 12 x 12 inches
Two pieces of back fabric, one cut 7 x 12 + one cut 6 x 12 inches
Contrasting zipper
Contrasting fabric cut 1 x 4 inches
Pillow form, (not pictured) for this tutorial I used a 12 x 12 inch form
One piece of front fabric, cut 12 x 12 inches
Two pieces of back fabric, one cut 7 x 12 + one cut 6 x 12 inches
Contrasting zipper
Contrasting fabric cut 1 x 4 inches
Tools that are helpful for this project:
Sharp scissors
Pins
Sewing machine
Ruler
Bone folder
Sharp scissors
Pins
Sewing machine
Ruler
Bone folder

I start with the zipper + the contrasting fabric. Begin by folding the fabric in half, lengthwise. Using your ruler + starting at zero + ending at the desired pillow width, in this case – 12 inches, lay the pieces of fabric on top of the zipper. Pin the pieces down, raw edges facing out.

Sew pieces to zipper. Make sure that your zipper pull is within these pieces of fabric.

Lay out one of your back pieces facing up.

Turn the zipper over + lay on top of fabric, pin + sew down.
Now take your other piece of back fabric + lay your newly sewn piece on top,

like so. Pin + sew down.


This is what your pillow should look like now.

Iron the two sides away from the zipper.

If you want to, top stitch along the zipper edge.

Trim your excess. Pull your zipper half way open.

Now, lay your 12 x 12 piece of fabric on top of your zipper piece. Pin + sew around the edges. But, (!) before you sew, make sure that your zipper is half way open.


Trim your corners.

Turn project, use a bone folder to square out the corners.

Stuff + enjoy.

No comments:
Post a Comment